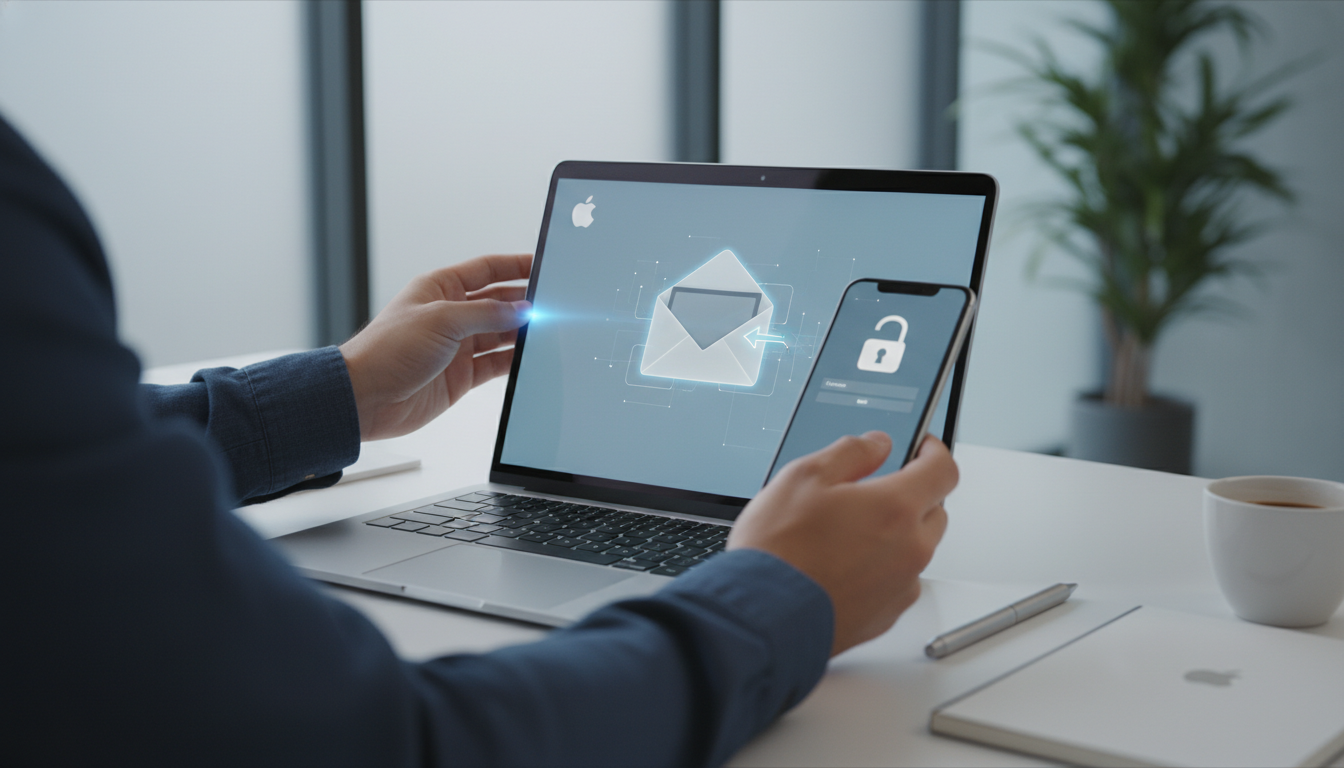
Updating your Apple ID email address is a critical administrative task that ensures you maintain access to your digital life, including iCloud storage, App Store purchases, and iMessage history. Whether you are moving away from an old university email, switching from a professional to a personal address, or simply consolidating your digital identity, the process of a primary email update for your Apple account requires precision to avoid losing access to synced data. In this definitive guide, we will walk you through the technical steps of changing your Apple ID login, troubleshooting common errors like “email address is not available,” and securing your account using advanced tools like Create Random Password.
The Strategic Importance of Your Apple ID Primary Email
Your Apple ID is the master key to the Apple ecosystem. It is not merely a login credential; it is the central node that connects your iPhone, iPad, Mac, Apple Watch, and Apple TV. When you change the email associated with this ID, you are essentially re-routing the authentication path for every service you use. Understanding the distinction between a primary email address, an alias, and a recovery email is vital for long-term account health.
Many users find themselves needing a change because their original email provider is no longer accessible or because they originally signed up with a third-party service like Gmail or Outlook and now wish to migrate fully into the @icloud.com environment. However, this transition comes with specific rules set by Apple regarding timing, verification, and device synchronization that must be followed to prevent “account lockouts.”
Pre-Flight Checklist: Before You Change Your Apple ID
Before you dive into the settings, you must prepare your environment. A common mistake is initiated the change and then finding yourself locked out of iMessage or FaceTime because the devices are still looking for the old credentials. Follow these steps to ensure a seamless transition:
- Sign Out of Secondary Devices: While not strictly mandatory for the web-based change, it is highly recommended to sign out of Find My, iMessage, and FaceTime on devices you aren’t currently using to initiate the change.
- Verify Access to the New Email: Ensure you can log into the new email inbox. Apple will send a six-digit verification code that expires quickly.
- Backup Your Data: Ensure your latest iPhone backup is uploaded to iCloud. While changing an email doesn’t delete data, a sync error during the transition could lead to temporary data invisibility.
- Update Your Password: If you haven’t changed your password in over six months, consider generating a new, robust one. Our partners at Create Random Password provide an excellent utility for generating cryptographically secure strings that protect your Apple ID from brute-force attacks.
How to Change Your Apple ID Email via the Web (Recommended Method)
The most stable way to update your account is through a desktop browser. This method provides the clearest interface and minimizes the risk of mobile-specific UI glitches.
Step 1: Sign In to the Apple ID Management Portal
Navigate to appleid.apple.com and sign in with your current credentials. You will likely be prompted for Two-Factor Authentication (2FA). Enter the code sent to your trusted Apple device.
Step 2: Access Personal Information Settings
Once the dashboard loads, click on the “Sign-In and Security” tab on the left-hand sidebar. Select the “Email & Phone Numbers” section. Here, you will see your primary Apple ID email listed at the top.
Step 3: Edit the Primary Address
Click the plus (+) sign or the “Change Apple ID” button (the UI may vary slightly by region). Enter the new email address you wish to use. Note that this address cannot already be associated with another Apple ID.
Step 4: Verification
Apple will immediately send a verification code to the new address. Open your new email inbox, retrieve the code, and enter it into the prompt on the Apple ID site. Once verified, your new email becomes your primary Apple ID.
| Feature | Requirement | Impact After Change |
|---|---|---|
| iCloud Storage | Active Subscription | Remains intact; no data loss. |
| App Store Purchases | Account Linkage | All previous purchases remain available. |
| Find My iPhone | Enabled | Must be re-verified on the device. |
| Apple Pay | Wallet Sync | Cards remain, but may require re-authentication. |
Changing Apple ID Email Directly on iPhone or iPad
If you do not have access to a computer, you can perform the update directly within iOS or iPadOS. This is convenient but requires a stable Wi-Fi connection to ensure the handshake with Apple’s servers is not interrupted.
- Open the Settings app.
- Tap your Name/Apple ID at the very top of the menu.
- Select “Sign-In & Security”.
- Tap “Edit” next to the “Email & Phone Numbers” header.
- Tap the red minus (-) button next to your primary email to remove it, or select “Add Email or Phone Number” if you want to add the new one first.
- Follow the on-screen prompts to verify the new address.
Expert Tip: If you are changing from a third-party email (like @gmail.com) to an Apple domain (@icloud.com), be aware that this change is often permanent. You may not be able to change it back to a third-party email later.
Troubleshooting “This Email is Not Available” Errors
One of the most frustrating hurdles in the Apple ID update process is the error message: “This email address is not available.” This typically happens for one of three reasons:
1. The Email is a “Shadow” Apple ID
You might have created an Apple ID years ago for an old iPod or a forgotten iTunes account using that email address. Apple does not allow two accounts to share the same primary email. You must first log into that old account and change its email to something else (or delete the account) before you can use the email for your current account.
2. The Email is an Alias
If the email you want to use is already listed as an “Alias” or a “Reachable At” address on your current account, you cannot simply “switch” it to primary. You must first delete it from the alias list, wait approximately 30 days (in some cases), and then attempt to set it as the primary.
3. The Recent Deletion Rule
If you recently deleted an Apple ID associated with that email, Apple may “reserve” that email for up to 90 days to prevent account hijacking. In this scenario, patience is the only solution.
The Role of Security: Protecting Your New Login
Changing your email is the perfect time to perform a Security Audit. Since your Apple ID controls access to your photos, location, and credit card information, a compromised account can be devastating. We recommend using Create Random Password to generate a unique 16+ character password that includes symbols, numbers, and mixed-case letters. Avoid using common words or birthdays, as these are easily cracked by modern dictionary attacks.
“Security is not a product, but a process. When you update your Apple ID, you are resetting the foundation of your digital security. Use this opportunity to move away from memorable (and hackable) passwords to complex, randomly generated strings.” – Senior Security Architect
Post-Update: Essential Steps to Stay Logged In
After successfully changing your Apple account email, you might notice that some services stop working. This is because the “token” used to keep you logged in is tied to the old email string. Follow this checklist to fix it:
- Update iMessage and FaceTime: Go to Settings > Messages > Send & Receive. Ensure the new email is checked. Do the same for FaceTime settings.
- Update Media & Purchases: Tap your name in Settings, then “Media & Purchases.” Sign out and sign back in with the new email.
- Check Your Mac: On macOS, go to System Settings > Apple ID and ensure the change has reflected. You may need to enter your Mac login password to authorize the update.
- Third-Party Apps: Some apps that use “Sign in with Apple” may require you to re-authenticate, though most handle the transition automatically via your unique user identifier.
Transitioning from Third-Party Emails to @icloud.com
Many users want to simplify their lives by using an Apple-native email. If you change your Apple ID to an @icloud.com, @me.com, or @mac.com address, there are specific caveats:
The “Point of No Return”
Once you change your Apple ID to an Apple-owned domain, you generally cannot change it back to a third-party email provider like Yahoo or Gmail. You are effectively “locked in” to the Apple mail ecosystem for that specific account identity.
Primary vs. Alias
If you already have an iCloud email, it is likely already linked to your Apple ID. You can check this in the “Reachable At” section. If you want to make that iCloud mail your *primary* login, the process is usually a toggle switch within the Apple ID portal, provided the iCloud mail was created at least 30 days prior.
Managing Apple ID for Families and Minors
When changing an email for a child’s account under Family Sharing, the Organizer must often approve the change. This is a safety feature to prevent children from changing their login credentials without parental knowledge. If you are the Organizer, ensure your own email is updated first before attempting to modify the accounts of family members.
Advanced Security: Beyond the Email Change
While updating your Apple ID email improves your organizational structure, true security lies in Two-Factor Authentication (2FA) and Account Recovery Contacts.
Recovery Keys
For high-security users, Apple offers a Recovery Key. This is a 28-character code that you must keep safe. If you lose access to your devices and your email, this key is the *only* way to get back in. If you use this feature, ensure you store the key in a secure location, perhaps alongside the passwords you’ve generated using Create Random Password.
Legacy Contacts
Don’t forget to set up a Legacy Contact. This allows a trusted person to access your data in the event of your passing. This is managed in the same “Sign-In & Security” menu where you changed your email.
Frequently Asked Questions
Will I lose my photos if I change my Apple ID email?
No. Changing your email address is simply changing the “username” for your account. All your photos, notes, and documents stored in iCloud remain exactly where they are. However, you must ensure you sign back into iCloud on all your devices using the new email to see the synced content.
Can I merge two different Apple IDs?
Currently, Apple does not allow the merging of two separate Apple IDs. If you have purchases on two different accounts, you cannot combine them into one email. The best workaround is to use Family Sharing to share purchases between the two accounts.
What happens to my subscriptions (Apple Music, TV+)?
Your subscriptions are tied to your internal Account ID, not the display email. They will continue to function without interruption, though your billing receipts will now be sent to the new email address.
How long does the change take to propagate?
The change is instantaneous on Apple’s servers. However, it can take anywhere from a few minutes to a few hours for all your devices (Apple Watch, HomePod, etc.) to prompt you for the new credentials.
Comparison: Web vs. Device Change
| Method | Pros | Cons |
|---|---|---|
| Web (appleid.apple.com) | Most reliable, clear UI, easy to manage aliases. | Requires a desktop/laptop for best experience. |
| iPhone/iPad Settings | Convenient, no extra hardware needed. | Can be interrupted by phone calls or loss of signal. |
| Mac System Settings | Integrates with Keychain for easy password updates. | UI can be buried in newer macOS versions. |
Final Thoughts on Account Maintenance
Maintaining an up-to-date Apple ID email is a cornerstone of digital hygiene. It ensures that critical security alerts reach you, that your billing is transparent, and that you never lose access to your digital legacy. By following the steps outlined above—especially the pre-flight checklist and the post-update re-authentication—you can navigate this transition without the common pitfalls of data loss or account lockouts.
Remember that your email is only as secure as the password protecting it. Always use unique, complex passwords for your primary accounts. Utilizing a trusted resource like Create Random Password can help you generate the high-entropy strings necessary to keep your updated Apple ID safe from hackers and automated scripts. Update your email today, secure your password, and enjoy the peace of mind that comes with a well-managed Apple ecosystem.
Summary Checklist for Success:
- Access to current Apple ID and new email address.
- Backup of iPhone/iPad via iCloud or iTunes.
- Sign out of iMessage and FaceTime on secondary devices.
- Generate a new, secure password via Create Random Password.
- Verify the new email via the 6-digit code.
- Sign back into all services using the updated credentials.
By treating your Apple ID with the technical respect it deserves, you ensure that your transition is not just a change of address, but an upgrade to your overall digital security posture.